Initial Setup
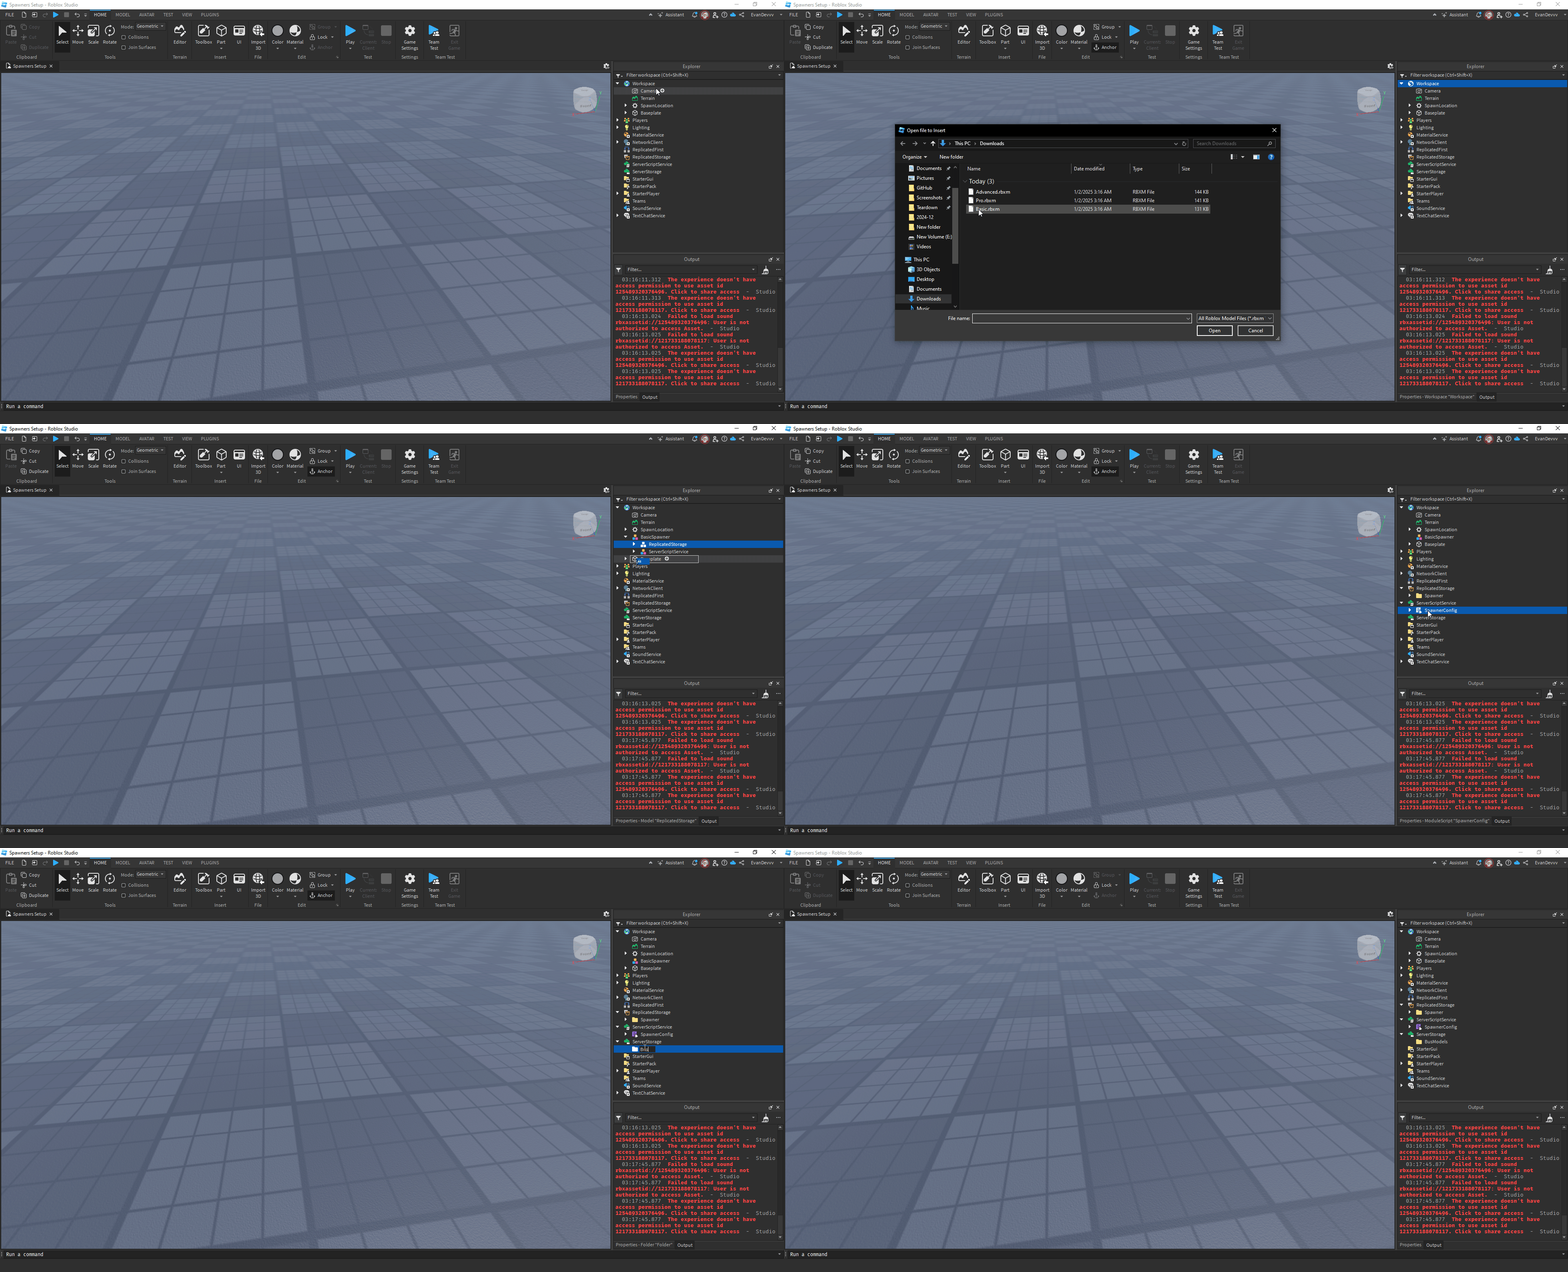
Importing the .RBXM File
- Right-click the Workspace in Roblox Studio.
- Click Insert from File and select the
.RBXMfile. - Ungroup everything in the folder as prompted.

Adding Buses to the Basic Spawner
This spawner supports basic spawning, meaning you must have a model for each bus number you intend to use.
Steps to Add Buses
-
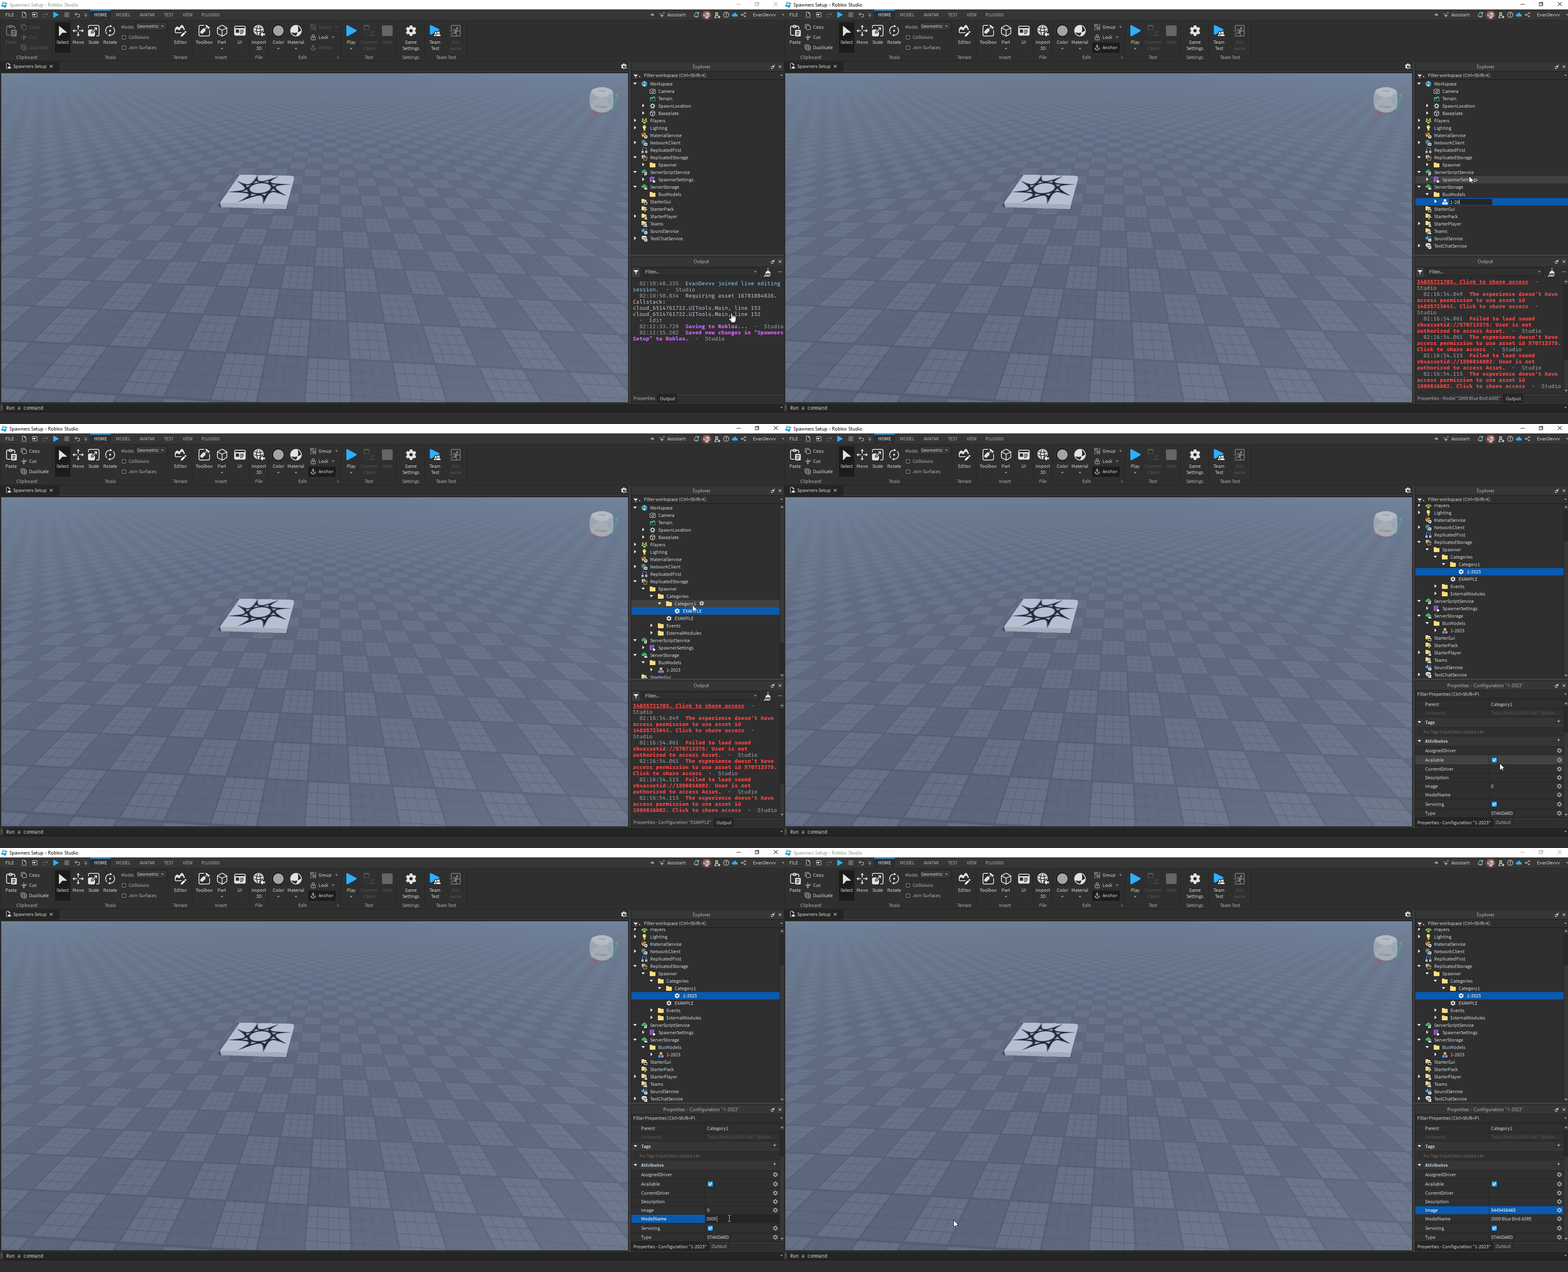
Move the Bus Model:
- Duplicate the desired bus model.
- Move it into the
Busesfolder withinServerStorage. (You will have to create this folder) - Rename the model to the bus number of your choice.
-
Configure the Bus Category:
- Navigate to
ReplicatedStorage -> Spawner -> Categories. - Select a category. If you haven't set up your categories yet, use
Category1. - Copy the
EXAMPLEconfiguration instance and paste it into your desired category.
- Navigate to
-
Rename and Edit Attributes:
- Rename the configuration instance to match your bus name.
- Check and edit the Attributes in the Properties tab.

How to Transfer from Huxley
Attributes Overview
Below is a table explaining the key attributes for bus configurations:
| Name | Type | Description |
|---|---|---|
AssignedDriver | Number | The Roblox User ID of the player assigned to the bus. |
Available | BoolValue | Indicates if the bus is available. Automatically managed; do not modify manually. |
CurrentDriver | String | Tracks the current driver of the bus. Automatically managed; do not modify manually. |
Description | String | Not currently used but will be added in a future update. |
Image | Number | The Asset ID of the image for the bus. |
ModelName | String | The name of your bus model (e.g., 2025 IC CE). |
Servicing | BoolValue | Indicates if the bus is in service. If false, it will not appear in the spawner. |
Spare | BoolValue | Indicates if the bus is a spare or not. |
note
Still need support? Join our Discord Server for help!.